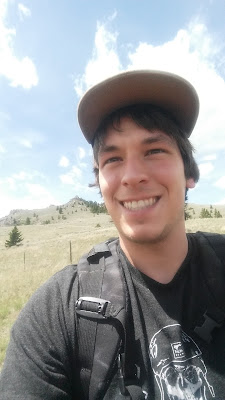
I must now hike to the high point behind me and beyond.
The view is great!

I found this old stake at the very top of the hill.
The South Pole. This is the very first piece of rock that you encounter on the approach, the other side is bolted.
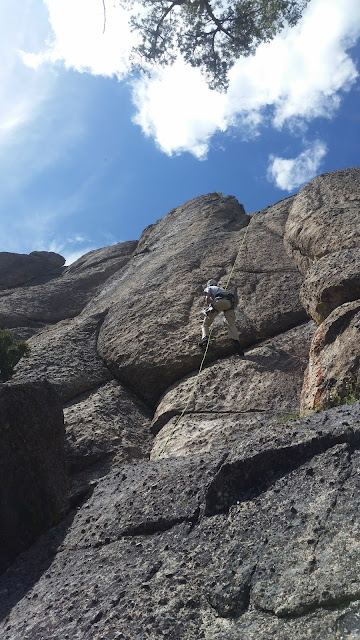
Two or three routes lead up to the chains, that's the white dot at the top in this photo. They may not be mega classic routes but you can't beat the view.
The Mcalpinist preparing to go to work, notice the drill hanging of his belt.
Could this slab full of cracks, jugs, and feldspar crystals possibly be the future home of some single pitch mixed routes?
Why is no one else climbing out here!? Most of those crystals are bulletproof, well you could shoot them off if you wanted to I guess. But just climb it instead.
This is where the magic happens people. Listed are the ingredients required to make an excellent bolted route:
1 Slab of Killer Rock
1 Brave Human
1 Fixed Static Rope
1 Ascender
1 Gri-Gri
1 Battery Powered Mason Drill
1 Fancy Hammer
1 Air Puffer
1 Spiral Scrub Brush
1 Phanny Pack with expanding bolts, hangers, nuts, washers, wrench, and snacks!
Step one: after finding a suitable piece of rock to climb, abseil your chosen line and find the best places to clip into protection. As Mark puts it, when placing bolts, "you must now think about someone other than yourself and your climbing partner."
Step two: drill a hole, Mark and I both consider this to be an act which requires a great deal of respect and diligence. The stone requires millions of years to arrive at it's current state (or thousands, depending on who you ask) while it only takes a few minutes for us to drill a hole. Please tread lightly and do it right the first time.
Step Three: clean out that hole with your spirally brush and air puffer. Always avoid any loose particulate or water in the hole when placing a bolt, cleanliness is close to godliness and don't forget to wear a smile. Here Mark Mcalpine shows excellent form.
Step Four: get out your expanding bolt and pound it in with the fancy hammer. Then place the hanger and washer on the end of bolt and cinch it down with the wrench and nut. This explanation of the process is meant to inform not to instruct.

We then had the chance to top rope some the routes Mark had set earlier on a different part of The Glove.
Three routes share one set of anchors. They are on the lookers left side of The Glove. My guess is that they are about 35 meters tall.
Here you can see the static line used to place the bolts.
Fine mixed granite routes await all who enter here.
The valley got hit with some spring storm action.
This adventure has been made possible in part by the employee pack building program at Mystery Ranch. Thanks Dana and Renee!


No comments:
Post a Comment